Physical Address
304 North Cardinal St.
Dorchester Center, MA 02124
Physical Address
304 North Cardinal St.
Dorchester Center, MA 02124
Resident Evil Requiem is finally here, and as expected, it doesn’t hold your hand. Like the best entries in the series, it throws you into a tense, hostile environment and expects you to survive through smart resource management, exploration, and quick thinking.
While the game does a solid job of teaching the basics, there are plenty of mechanics, hidden upgrades, and strategic tricks it barely explains — or doesn’t explain at all. If you’re just stepping into Roads Hill or switching between Grace and Leon for the first time, this guide will help you avoid common mistakes and make your early hours far smoother.
Don’t worry — this is completely spoiler-light. No major story reveals, no big cutscenes. Just pure gameplay tips that are easy to miss.
Let’s jump into the 10 essential beginner tips you need to know.
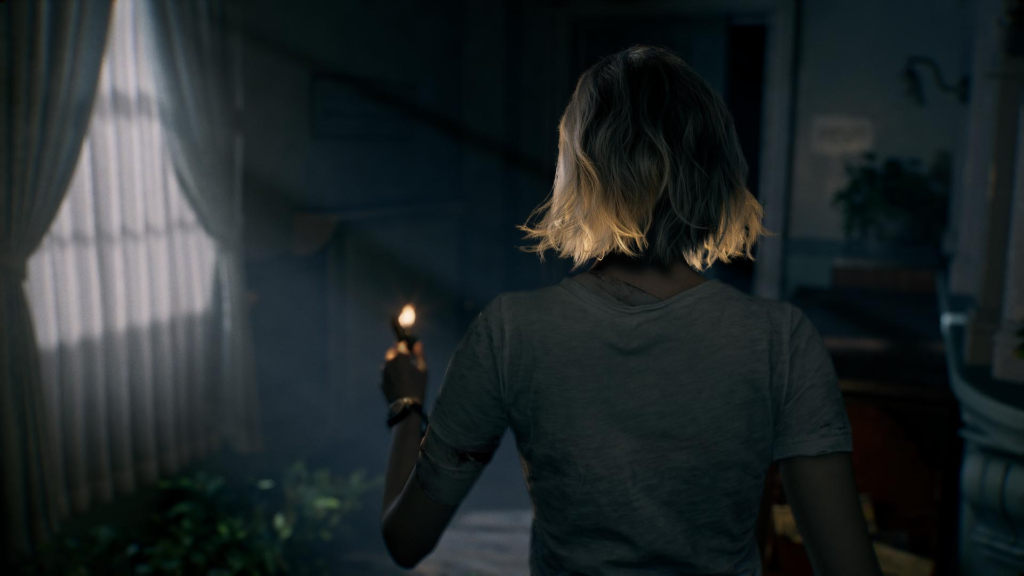
Early in the game, while playing as Grace at the Roads Hill Chronic Care Center, you’ll spend time exploring the West Wing. One of the first tense areas you’ll encounter is a bar and lounge space filled with enemies. The game strongly encourages you to sneak through it, and most players will likely rush past it just to survive. But here’s the thing — you should come back later.
Behind the bar area, there’s a second handgun called the SNS M232. It’s easy to miss because it doesn’t automatically appear on your map unless you have a clear sight line on it. If you never physically look in that direction, the map won’t help you. The SNS M232 is essentially a straight upgrade over Grace’s default pistol. It hits harder and performs better overall, and considering Grace doesn’t get many alternative weapon options early on, this is a huge pickup.
Once you’re strong enough to clear the area safely, revisit the lounge and grab it. It’s absolutely worth it.
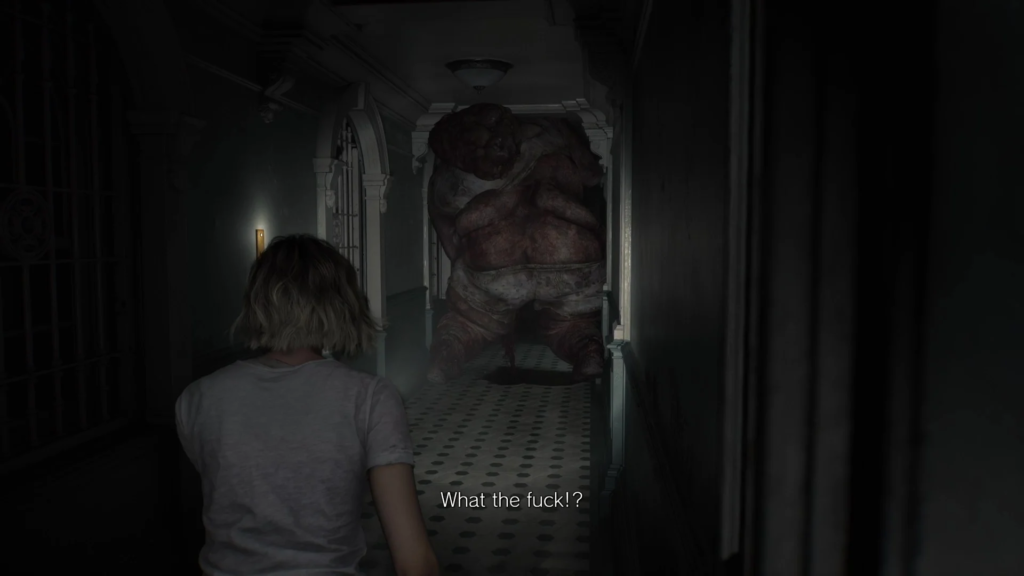
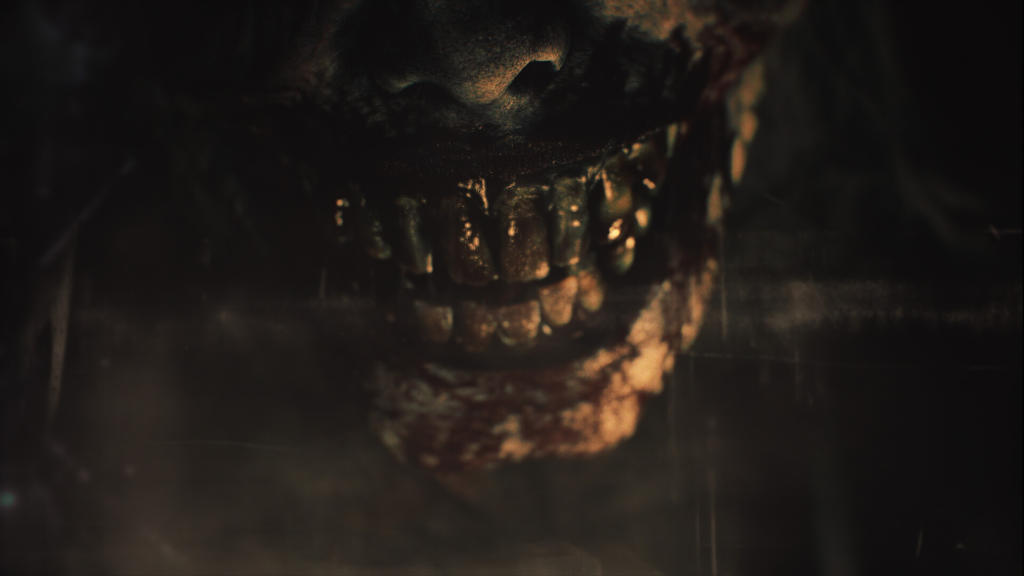
One of the most grotesque enemies introduced early on is a massive, hallway-blocking monstrosity commonly referred to as “Chunk.” He’s enormous, slow-moving, and physically blocks narrow corridors, making certain areas a nightmare to navigate. Because there’s also a stalker-type enemy in the game who can’t be killed through conventional means, many players assume Chunk is also unkillable. He’s not. Chunk can be permanently eliminated.
You have two main options:
Lure him toward a doorway to limit his movement and make your shots count. Once defeated, you not only remove a major obstacle from your playthrough, but you also earn:
Considering how often he shows up at the worst possible times, killing him early is one of the smartest long-term decisions you can make.
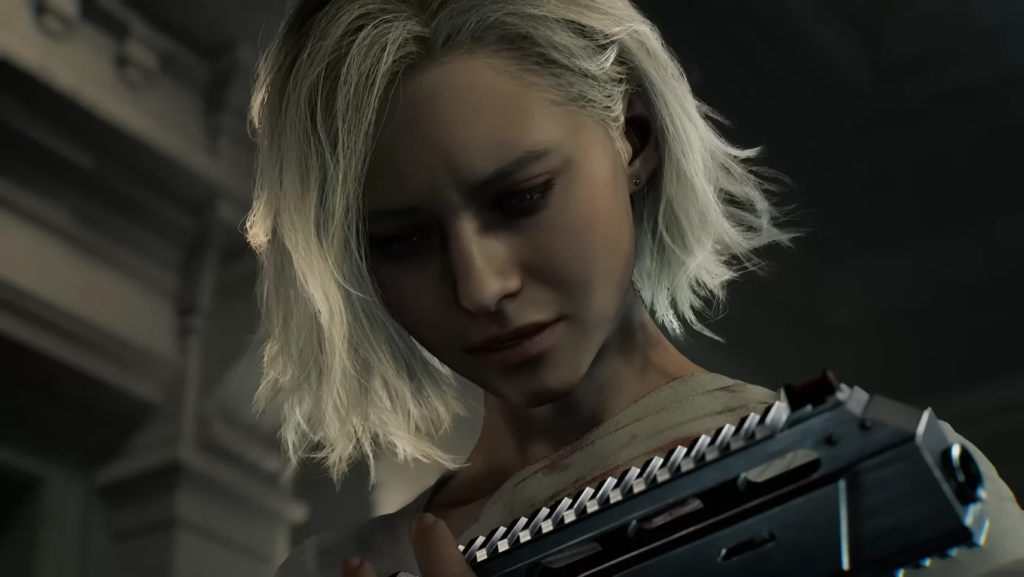
Grace defaults to first-person view, which makes her sections more immersive and terrifying. However, stealth becomes significantly easier if you switch to third person.
Third person gives you:
That said, there’s a trade-off. Enemies tend to become slightly more aggressive in third-person mode. Their detection can feel faster, and if you’re spotted, things escalate quickly.
It ultimately comes down to preference:
If you’re struggling with sneaking sections, try switching perspectives. It can genuinely make a difference.

On the first floor of the West Wing parlor area, you’ll find a place to spend antique coins. While several upgrades are available, one stands above the rest in importance:
The Override Manual.
It increases your blood collector capacity by 50 and costs six coins. That may seem expensive, but it’s absolutely essential.
Here’s why:
You cannot craft permanent upgrades like steroids or stabilizers without being able to carry over 100 blood. And without the Override Manual, you will never reach that capacity.
There are no free upgrades later.
There are no second chances.
If you miss it, you miss it forever.
As for what to craft first:
For Grace’s stealth-focused playstyle, stabilizers provide far more noticeable value. Since avoiding damage is usually smarter than tanking it, improved aim and damage output will serve you better in the long run.
Veteran players will feel right at home here. The quick turn mechanic returns, but the game never explicitly teaches you how to use it.
To perform a quick turn:
It’s not as essential as it was in older entries like Resident Evil 4, but it’s still extremely useful when you need immediate distance from an enemy. If something grabs you from behind or you need to sprint away instantly, mastering the quick turn can save your life.
At first, glass bottles seem like nothing more than distraction tools. You throw them, enemies investigate, and you move on. But later in Grace’s campaign, you unlock the ability to craft Molotov cocktails. Suddenly, those “useless” bottles become one of the most valuable resources in the game.
Molotovs are incredibly effective against:
If you’ve been casually throwing bottles everywhere early on, you may regret it later.
Instead:
Future you will be very thankful.
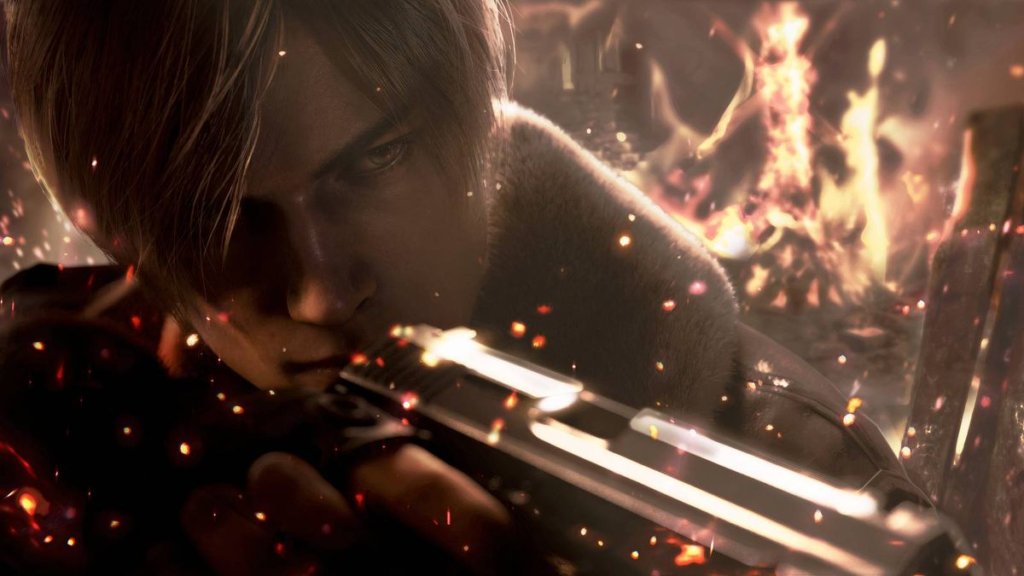
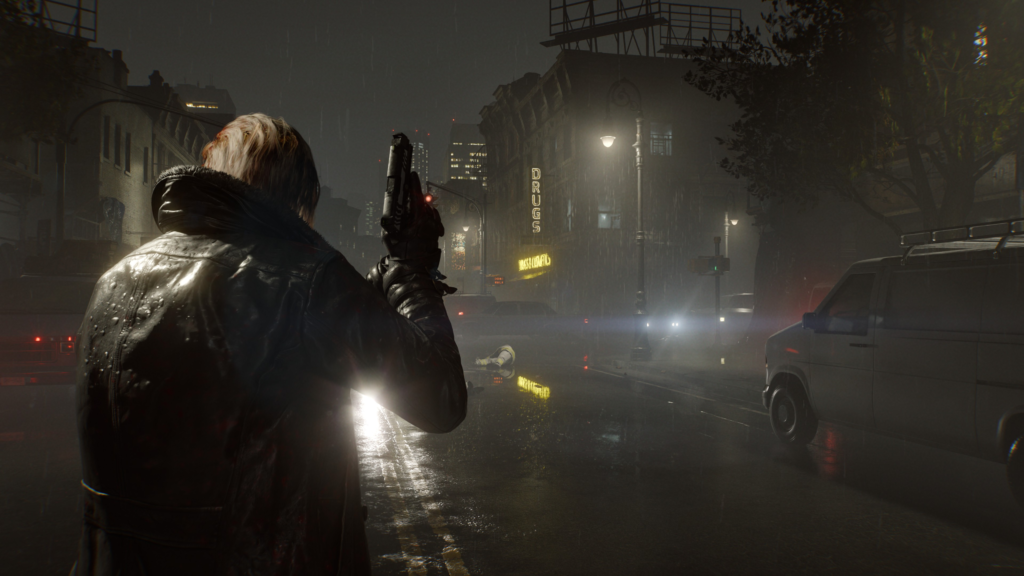
When playing as Leon, you can upgrade weapons with attachments like dot sights. These improve precision significantly — but they force you into first-person aiming mode. For some players, this feels jarring, especially when switching from third-person combat to sudden first-person ADS during chaotic encounters.
Here’s the good news:
There’s a toggle in the options menu that lets you disable forced first-person aiming for dot sight weapons.
It does not disable sniper rifle scopes — those remain first-person as expected.
If you prefer consistent third-person gameplay, this setting makes combat feel smoother and less disruptive.
It’s a small tweak, but it dramatically improves comfort for certain playstyles.

Grace can find and craft knives, and they’re extremely valuable tools.
They can:
However, knives have durability.
Unlike the system in Resident Evil 4 Remake, broken knives here cannot be repaired. Once they break, they’re gone permanently. But there’s another important detail. You can dismantle knives for scrap and turn that scrap into ammunition.
The smart strategy?
This maximizes their value.
The classic strategy still works:
Shoot a zombie in the head.
Knock them down.
Finish them with a knife.
Efficient resource management is everything in survival horror.
Your flashlight is mapped to the D-pad, implying it matters strategically. Through testing, here’s what’s clear:
Most enemies do not react to the flashlight.
Zombies don’t care.
Regular enemies don’t respond differently.
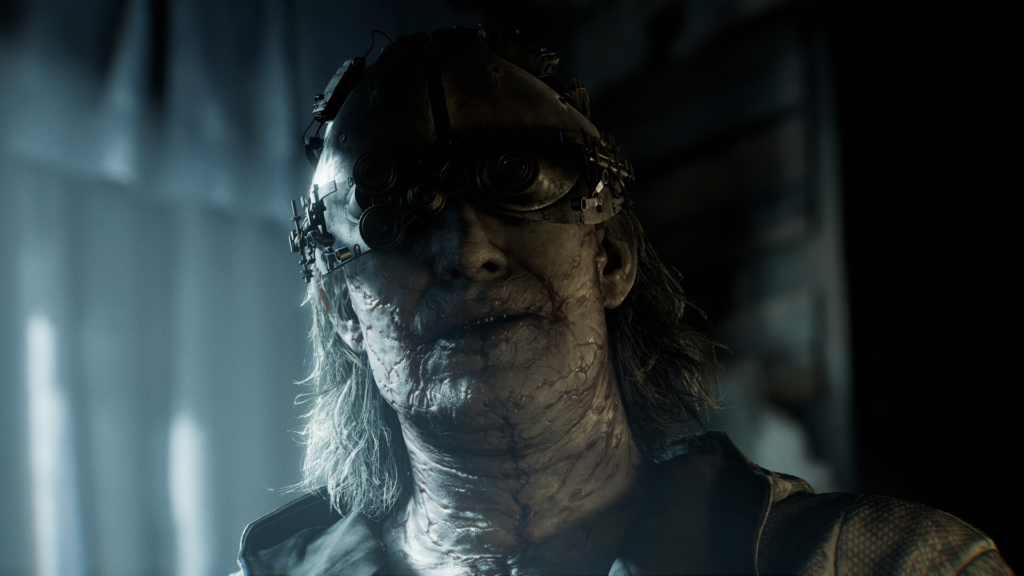
But the stalker enemy does.
If you shine your flashlight directly on her — even from behind — she can turn and detect you.
So what’s the rule?
Interestingly, she’s slightly slower than she appears. In many cases, running away to a brightly lit area is safer than trying to out-sneak her.
But when stealth is required, light discipline matters.
At a certain point in Grace’s campaign, Roads Hill becomes dramatically more dangerous.
Zombies begin returning as blister heads — tougher, more aggressive versions reminiscent of crimson heads from classic entries.
This difficulty spike is triggered when you:
If you avoid picking up the acid, the transformation event doesn’t trigger.
That means you can:
Before voluntarily making the game harder.
If you play naturally, the shift feels abrupt and punishing. But if you know it’s coming, you can control the pacing.
It’s one of the smartest ways to stay ahead of the curve.
Resident Evil Requiem blends classic survival horror tension with modern mechanics, and while veterans of the franchise will adapt quickly, newcomers may feel overwhelmed.
The key takeaways are simple:
Whether you’re a longtime fan of Resident Evil 2 and Resident Evil 4 or stepping into survival horror for the first time, smart preparation makes all the difference.
Survival horror is about patience, efficiency, and knowing when to fight — and when to run.
Good luck out there.
And remember: always check behind the bar.